Uneven Grout Lines? How to Achieve a Consistent Finish

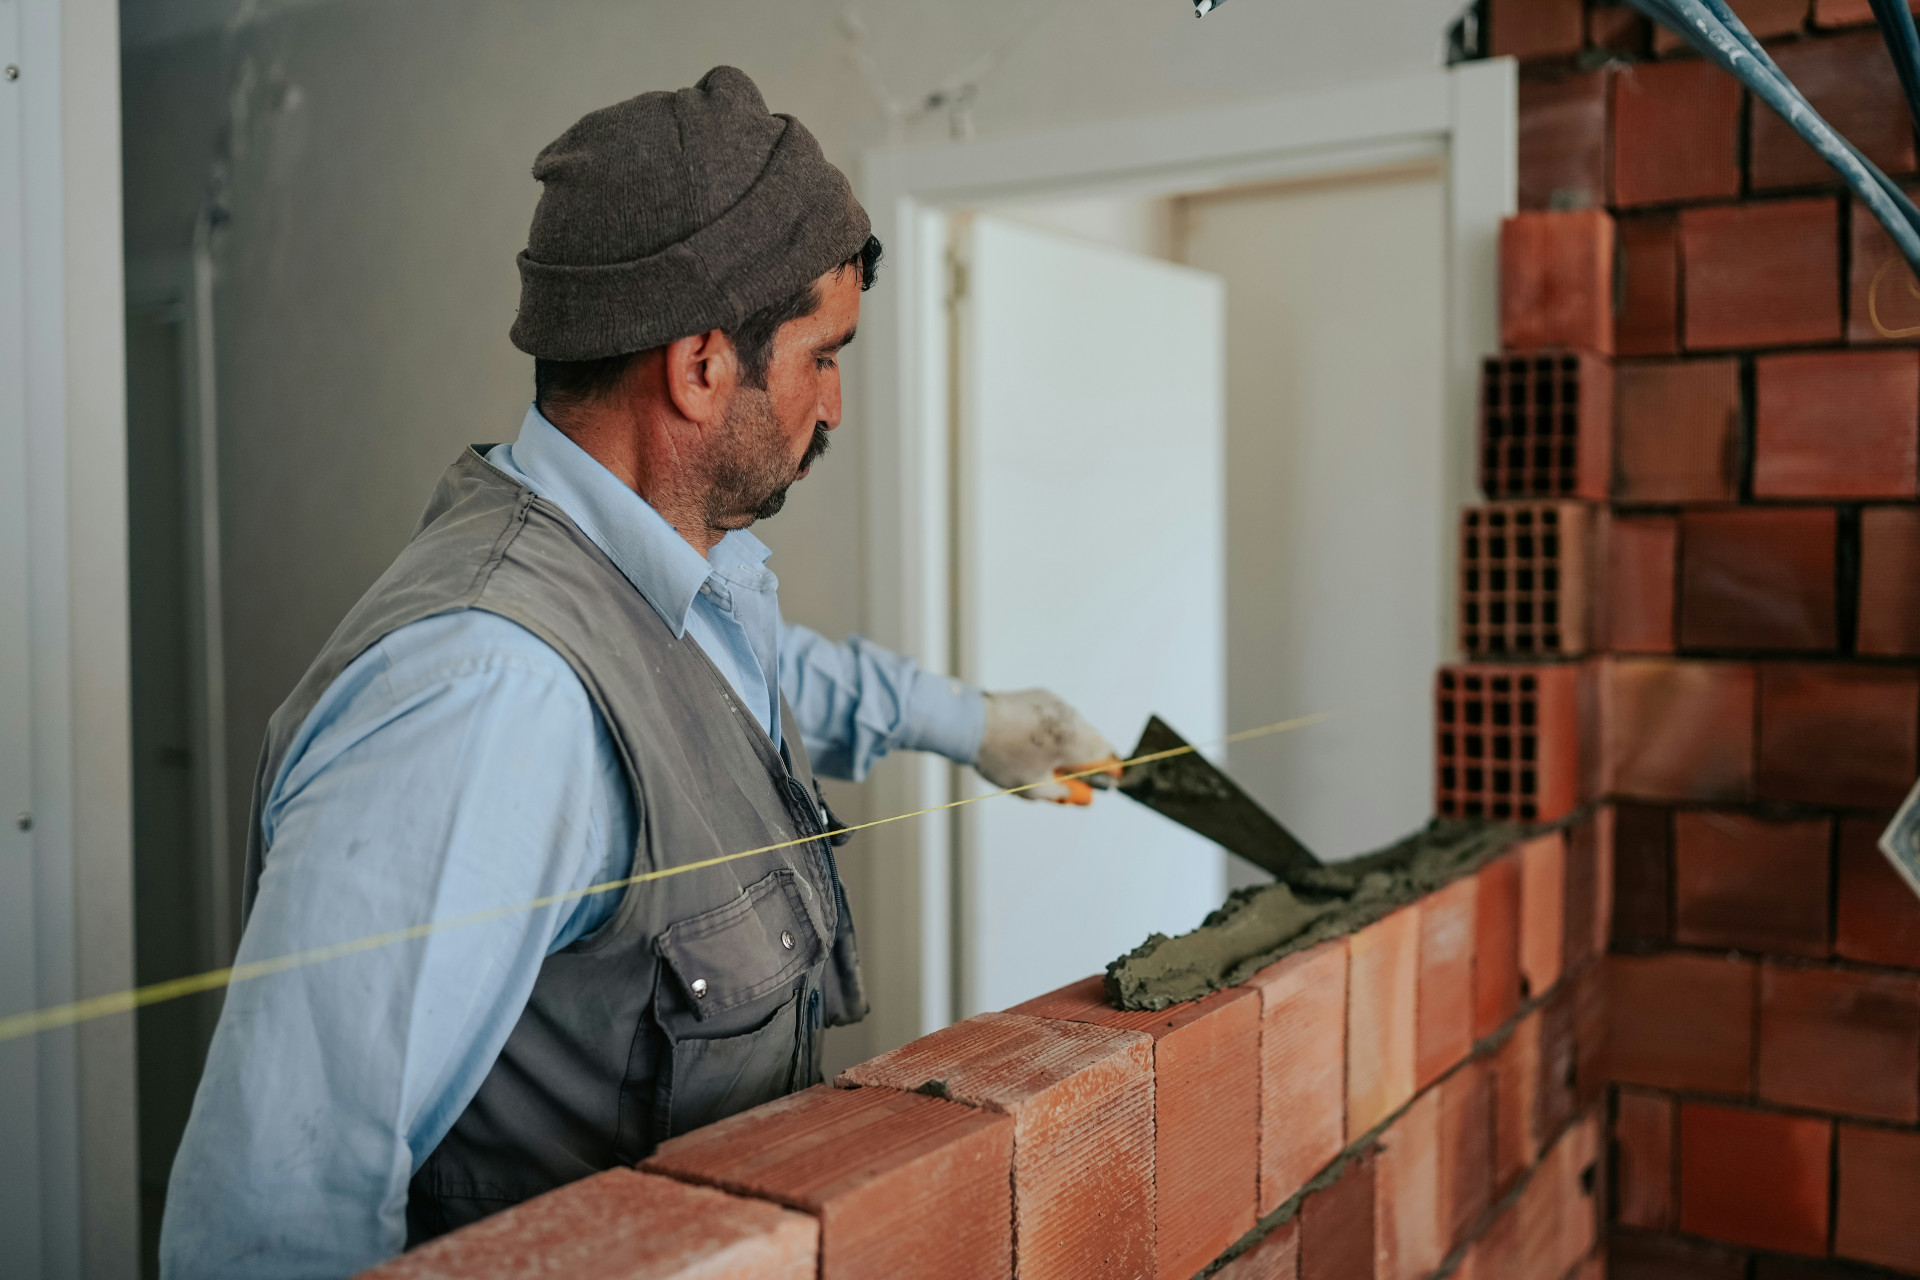
Uneven Grout Lines? How to Achieve a Consistent Finish
Uneven grout lines can quickly ruin the look of an otherwise beautiful tile installation. Whether you’re laying new tiles, regrouting an old backsplash, or repairing a bathroom floor, precision and patience are key to a clean, professional finish. The good news is that with the right preparation and technique, you can avoid the common mistakes that lead to crooked or inconsistent grout lines. Here’s a step-by-step guide to help you achieve a smooth, even result every time.
Understand Why Grout Lines Become Uneven
Uneven grout lines often happen because the surface underneath isn’t level, or because the grout isn’t applied and shaped correctly. Using too much or too little grout, or working in conditions that are too hot, cold, or humid, can also cause problems. If grout dries too quickly, it can shrink unevenly, and if it’s not packed tightly, it may crumble or vary in color.
In short: a great finish starts with careful preparation and the right technique.
Prepare the Surface Thoroughly
Before you start grouting, make sure the surface is clean, solid, and free of dust, grease, or loose debris. If you’re regrouting, remove any old, cracked grout with a grout saw or oscillating tool to make room for the new material. For new tile installations, ensure that all tiles are firmly set and that the joints are clean and dry.
A helpful tip: lightly mist the joints with water before applying new grout. This prevents the surface from absorbing moisture too quickly and helps the grout cure evenly.
Choose the Right Type of Grout
There are several types of grout available, and the right choice depends on your project:
- Cement-based grout – Common for most tile installations, both floors and walls. It’s durable and easy to work with.
- Epoxy grout – Ideal for bathrooms, kitchens, and other areas exposed to moisture or heavy use. It’s waterproof and stain-resistant but sets quickly, so work in small sections.
- Urethane or pre-mixed grout – Convenient for DIYers, as it’s ready to use and easy to clean up. Great for backsplashes and small projects.
Always follow the manufacturer’s instructions and choose a color that complements your tile. Even slight color variations can make grout lines appear uneven.
Step-by-Step: How to Grout Evenly
- Fill the joints completely – Use a rubber grout float or grout bag to press the grout firmly into the joints. Make sure there are no air pockets.
- Work diagonally across the tiles – This helps fill the joints evenly and prevents the float from digging grout out of the lines.
- Shape the grout lines – Once the grout starts to firm up, use a damp sponge or grout shaping tool to smooth the lines in one continuous motion. Avoid stopping mid-joint.
- Clean excess grout – Wipe the tiles with a clean, damp sponge before the grout hardens. Rinse the sponge frequently to avoid haze.
- Allow proper curing – Protect the area from foot traffic, water, and direct sunlight while the grout cures. Rapid drying can cause cracks or color inconsistencies.
Avoid Common Mistakes
Even small errors can stand out once the grout dries. Here are some common pitfalls—and how to avoid them:
- Uneven spacing: Use tile spacers to maintain consistent joint width.
- Color variation: Mix all your grout at once, or measure water and powder carefully for each batch.
- Cracking: Don’t grout in direct sunlight or on very hot surfaces.
- Powdery or weak grout: Make sure the surface is slightly damp but not wet before grouting.
Maintenance and Aftercare
A well-grouted surface still needs maintenance. Check your grout lines periodically for cracks, discoloration, or mildew—especially in bathrooms and kitchens. Small repairs can be made by applying fresh grout over cleaned joints, but larger issues may require removing and replacing the old grout. For extra protection, consider applying a grout sealer once the grout has fully cured. This helps prevent stains and extends the life of your work.
A Consistent Finish Takes Time
Achieving even grout lines isn’t just about skill—it’s about patience. Work methodically, take your time, and fix small imperfections as you go rather than after the grout has set. With the right tools, a steady hand, and a bit of practice, you can create a clean, consistent finish that looks professional and lasts for years.