Prepare Your Roof for Solar Panels – Step-by-Step Guide

Prepare Your Roof for Solar Panels – Step-by-Step Guide
Solar panels are becoming an increasingly popular way for American homeowners to cut energy costs and reduce their carbon footprint. But before you can start generating clean electricity, your roof needs to be ready for the installation. Proper preparation ensures that your solar system is safe, efficient, and built to last. Here’s a step-by-step guide to help you get your roof solar-ready.
1. Assess Your Roof’s Condition
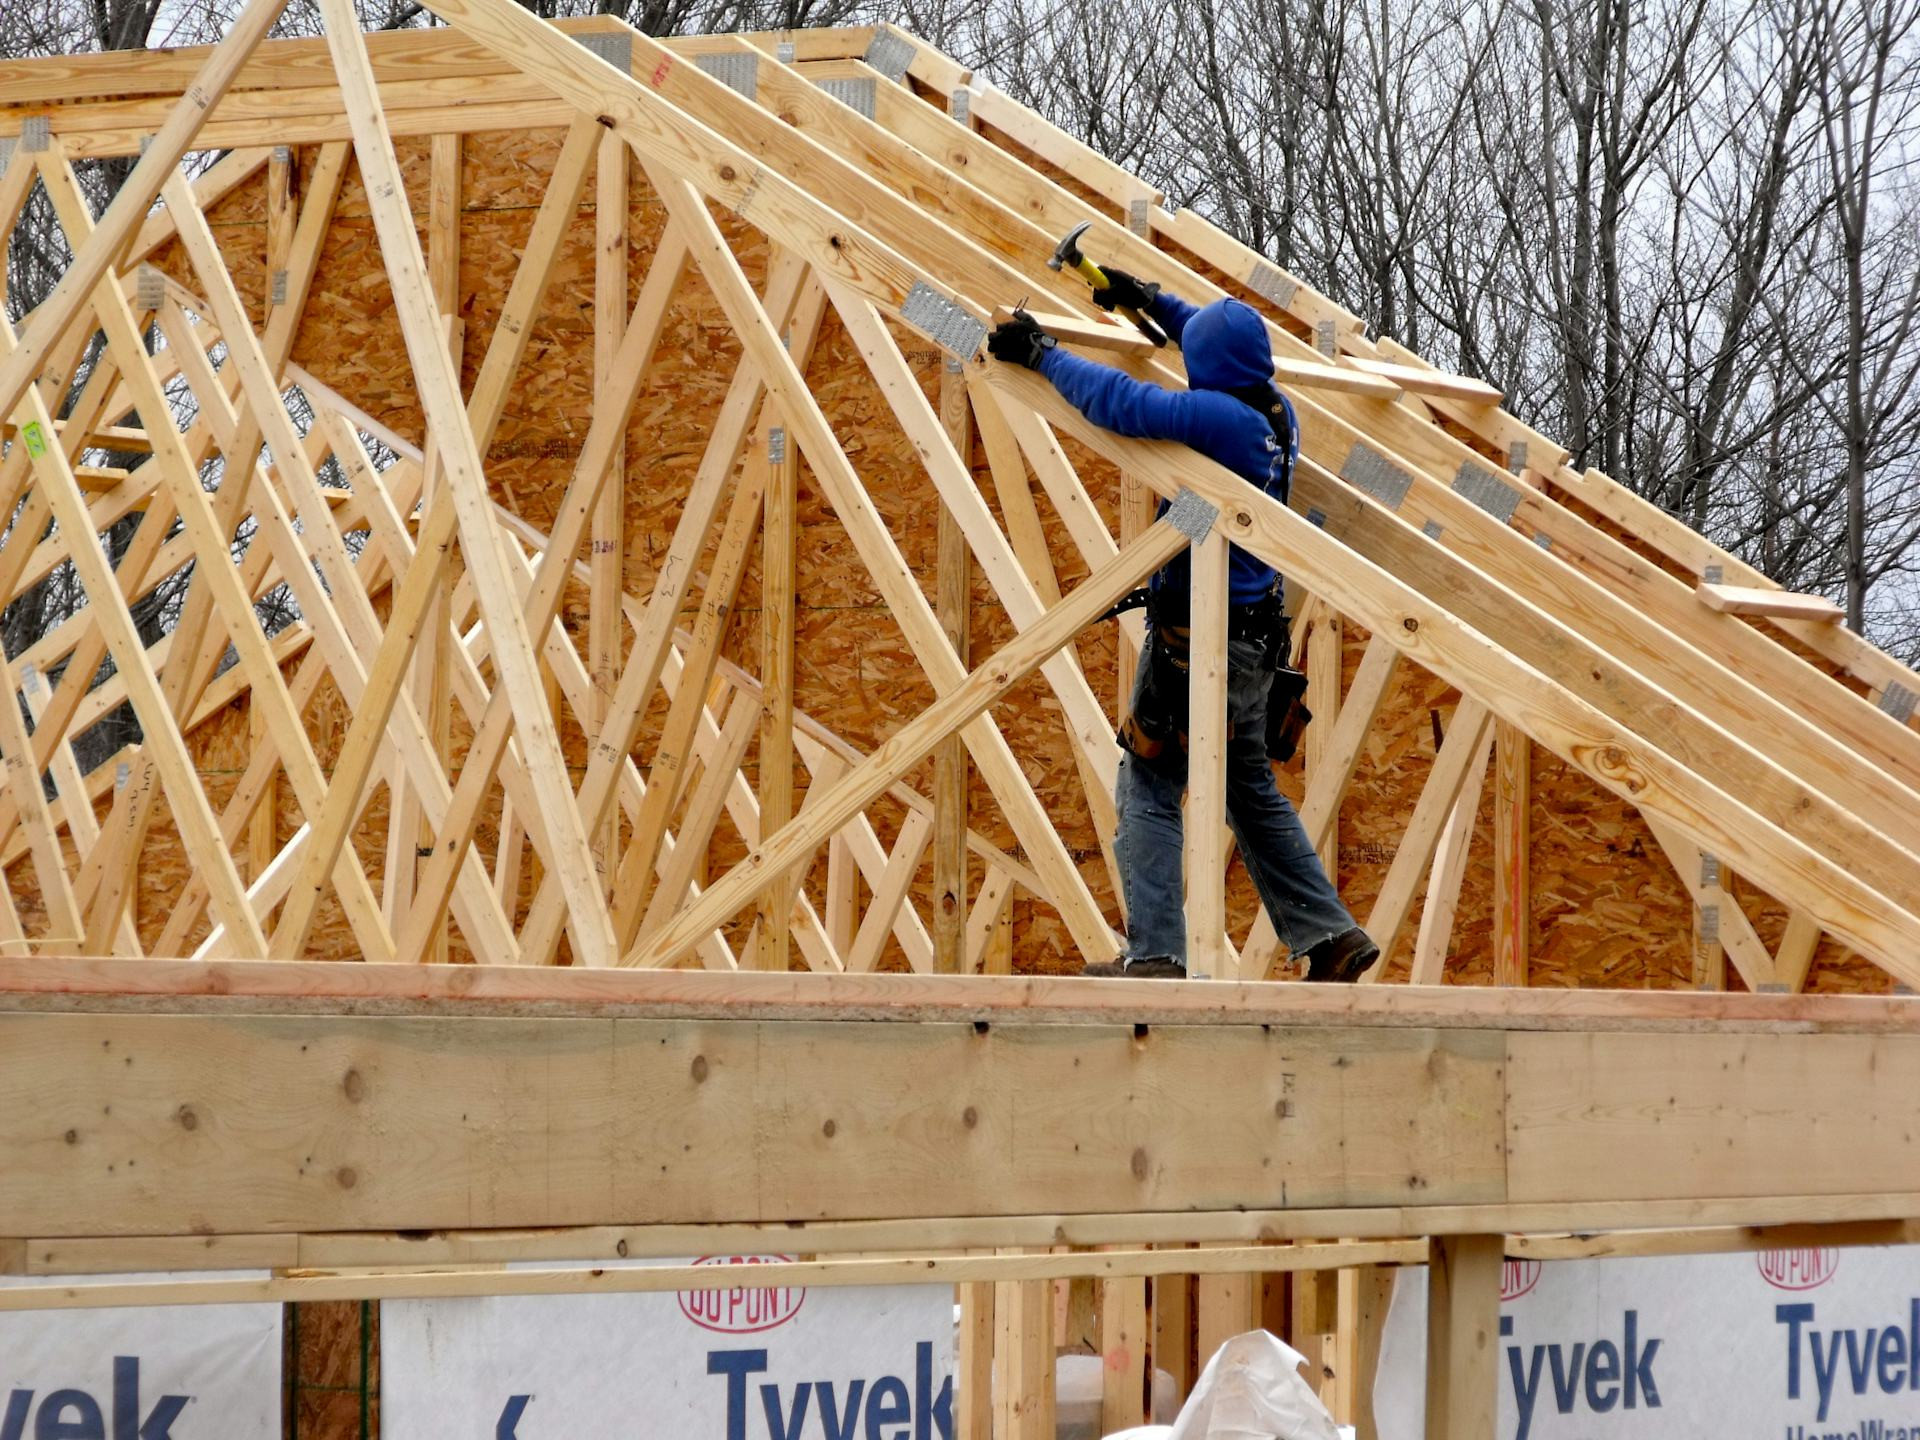
Before planning your solar installation, make sure your roof can handle the added weight and structure of solar panels. A typical solar system adds about 3–5 pounds per square foot, so your roof must be structurally sound.
- Check the roof’s age: If your roof is more than 20 years old or nearing the end of its lifespan, consider replacing it before installing solar panels.
- Look for damage: Inspect for cracked shingles, leaks, or signs of rot in the decking or rafters.
- Consult a professional: A roofing contractor or structural engineer can evaluate whether your roof can safely support the panels.
Fixing any issues now will save you time and money later—and prevent the need to remove panels for roof repairs.
2. Evaluate Roof Orientation and Pitch
Solar panels perform best when they receive direct sunlight for most of the day. In the U.S., the ideal roof orientation is south-facing, as it captures the most sunlight throughout the year.
- South-facing roofs provide maximum energy production.
- East- or west-facing roofs can still work well, though they may produce slightly less electricity.
- Roof pitch between 30° and 45° is generally optimal, but mounting systems can adjust the angle if needed.
If you have a flat roof, panels can be installed on tilted racks to achieve the right angle for your location.
3. Check for Shade and Obstructions
Even small amounts of shade can significantly reduce solar output. Examine your roof throughout the day to identify any shading from trees, chimneys, vents, or nearby buildings.
- Observe your roof in the morning, midday, and afternoon.
- Trim or remove trees that cast shadows on your roof.
- Ask your solar installer to perform a shade analysis using specialized tools to determine the best panel placement.
A clear, unobstructed roof ensures your system operates at peak efficiency.
4. Review Roofing Material and Mounting Options
Different roofing materials require different mounting systems. Choosing the right hardware ensures a secure and watertight installation.
- Asphalt shingles: The most common roofing type in the U.S.; panels are mounted using flashing and lag bolts.
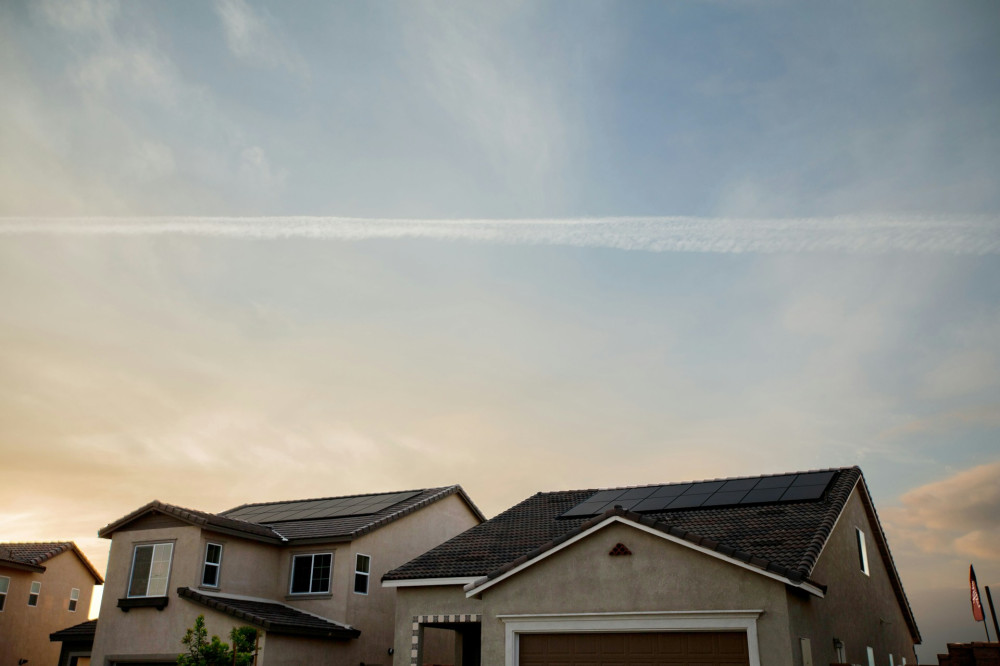
- Metal roofs: Standing seam metal roofs are ideal for solar, as panels can be clamped directly to the seams without drilling holes.
- Tile roofs: Require special brackets or hooks to avoid cracking tiles.
- Flat roofs: Use ballasted or tilt-up racking systems that don’t penetrate the roof membrane.
If you’re planning a roof replacement, coordinate it with your solar installation to save on labor and ensure a seamless fit.
5. Plan Wiring and Inverter Placement
Solar panels generate direct current (DC) electricity, which must be converted to alternating current (AC) by an inverter before it can power your home. Plan ahead for where cables and equipment will go.
- Place the inverter in a cool, dry, and ventilated area—such as a garage, basement, or utility room.
- Ensure wiring runs are as short as possible to minimize energy loss.
- Discuss cable routing with your installer to avoid visible wires or unnecessary roof penetrations.
All electrical work must be performed by a licensed electrician in compliance with local codes.
6. Check Local Permits and Utility Requirements
Solar installations in the U.S. typically require building and electrical permits. Regulations vary by state and municipality, so check with your local building department before starting.
- Permits: Your installer will usually handle the paperwork, but it’s good to confirm what’s required.
- Homeowners associations (HOAs): Some HOAs have rules about panel placement or visibility.
- Utility interconnection: You’ll need approval from your utility company to connect your system to the grid and qualify for net metering.
Understanding these requirements early helps avoid delays during installation.
7. Ensure Safe Access for Installers
Solar installation crews need safe and clear access to your roof. Preparing the area in advance helps the process go smoothly.
- Clear driveways and pathways for equipment and scaffolding.
- Remove obstacles like patio furniture or garden décor near the work area.
- Make sure gutters and downspouts are clean and in good condition.
- Mark skylights, vents, or antennas so installers can work around them safely.
A well-prepared site keeps the installation efficient and minimizes the risk of damage.
8. Plan for Future Maintenance
Solar panels require minimal maintenance, but it’s smart to think ahead. Ensure that panels can be accessed for occasional cleaning or inspection, and that the inverter is easy to reach if it ever needs replacement.
A properly installed solar system can last 25–30 years or more. The better your preparation, the longer and more efficiently it will perform.
Ready to Harness the Sun
Once your roof has been inspected, cleared, and approved, you’re ready to move forward with your solar installation. Careful preparation not only makes the process smoother but also ensures your system delivers maximum performance for decades to come. It’s an investment in your home, your wallet, and a cleaner energy future.