Plan Your Painting Project – The Order Matters

Plan Your Painting Project – The Order Matters
A successful painting project isn’t just about picking the right color or buying quality paint—it’s also about planning. The order in which you tackle each step can save you time, frustration, and uneven results. Whether you’re painting a single room or your entire home, knowing where to start and how to move forward makes all the difference. Here’s a practical guide to planning your painting project step by step.
Start with Preparation – Half the Work Is Done Before You Paint
A great finish begins long before the brush touches the wall. Proper preparation ensures that the paint adheres well and looks smooth.
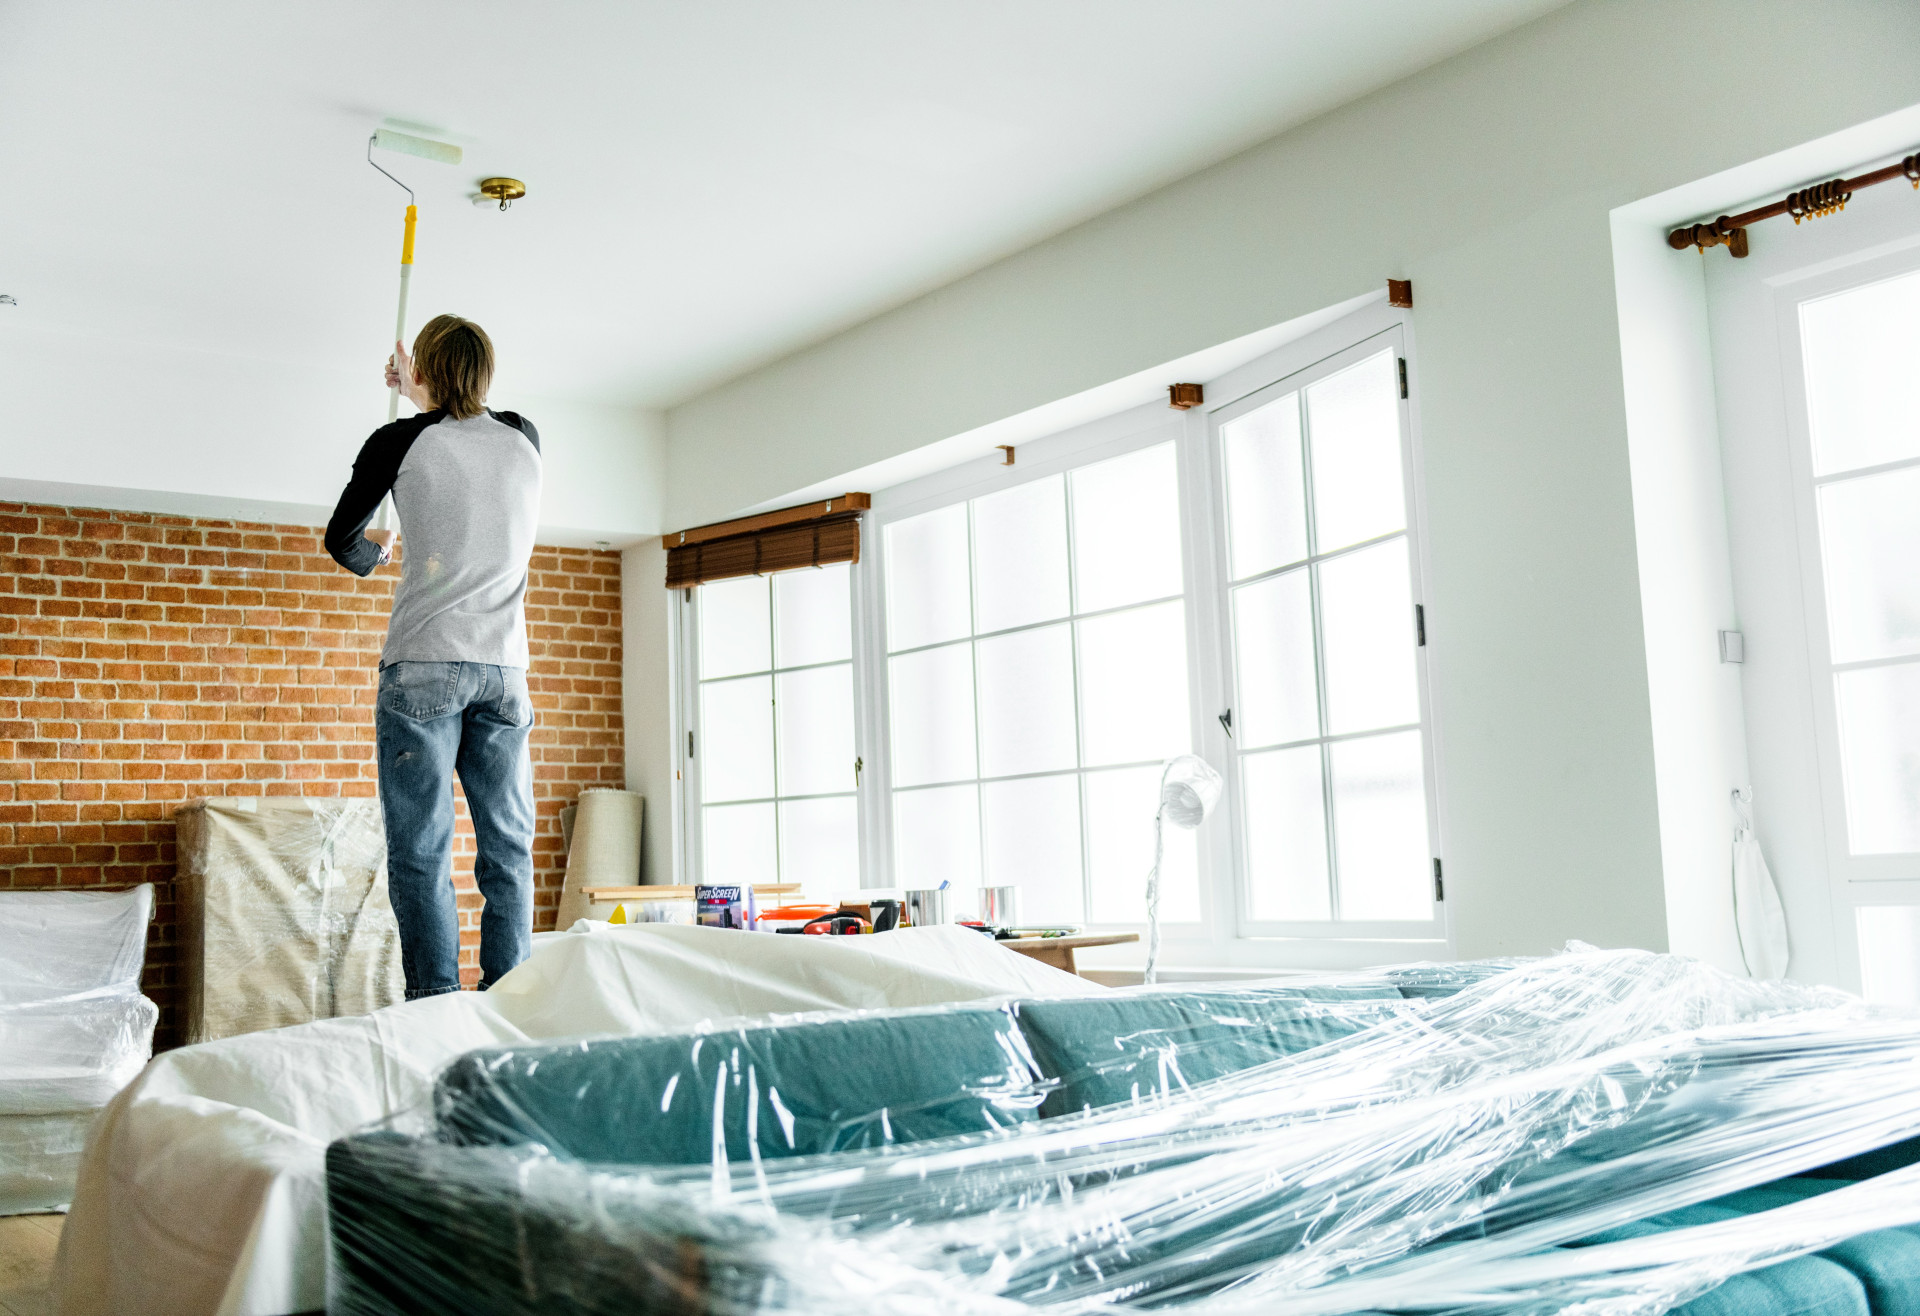
- Clear the room – Move furniture out if possible, or cover it thoroughly with plastic sheeting. Take down curtains, wall art, and outlet covers.
- Clean the surfaces – Dust, grease, and residue can prevent paint from sticking. Use a mild detergent or a degreasing cleaner, and let the walls dry completely.
- Repair imperfections – Fill holes and cracks with spackle, then sand smooth once dry.
- Protect what you’re not painting – Use painter’s tape along trim, windows, and door frames, and cover floors with drop cloths or rosin paper.
The better your prep work, the easier the painting will be—and the better the final result.
The Right Order in the Room – Work from Top to Bottom
When it’s time to paint, follow one simple rule: always paint from the top down. This way, any drips or splatters won’t ruin freshly painted surfaces below.
- Ceiling first – Start with the ceiling so you don’t drip on newly painted walls. Use an extension pole for your roller to get an even coat.
- Walls next – Once the ceiling is dry, move on to the walls. Cut in around edges and corners with a brush, then roll the larger areas in smooth, overlapping strokes.
- Trim, doors, and windows last – These areas often require a different type of paint and more precision. Paint them after the walls are completely dry to avoid smudges or overlap.
If you’re also painting radiators, vents, or pipes, save those for last so you can move freely around the room.
Painting Multiple Rooms? Plan Strategically
If you’re painting several rooms, think about logistics. Start with the rooms you use the least so you can temporarily store furniture from other areas there as you go. When painting an entire home, it’s best to complete one room at a time—this keeps things organized and helps you manage drying times and supplies efficiently.
Also, consider ventilation. Begin with rooms that have good airflow, like those with windows or fans, to help paint dry faster and reduce odor buildup.
Drying Time and Patience – Let the Paint Set Properly
One of the most common mistakes is painting the next coat too soon. Most paints need at least 4–6 hours to dry between coats, but always check the manufacturer’s instructions. Painting too early can lead to uneven sheen and poor adhesion. Use the waiting time to clean your brushes and rollers so they’re ready for the next coat.
The Finishing Touches That Make It Look Professional
Once the main painting is done, it’s the small details that make your work look polished:
- Remove painter’s tape while the paint is still slightly wet to avoid peeling.
- Inspect the walls in natural light—touch up any uneven spots with a small brush.
- Clean up and air out the room so it’s ready to use again soon.
A great paint job isn’t just about skill—it’s about patience and a systematic approach. When you follow the right order, you’ll get a result that looks professional and lasts for years.
A Plan Leads to a Better Finish
Painting might seem simple, but the difference between a smooth, durable finish and a patchy one often comes down to planning. By taking time to prepare properly, working from top to bottom, and respecting drying times, you’ll not only achieve a better-looking result—you’ll also enjoy a more efficient and satisfying painting experience.