Insulating Domestic Water Pipes – How to Reduce Heat Loss

Insulating Domestic Water Pipes – How to Reduce Heat Loss
When you turn on the hot water, you expect it to reach the faucet quickly and stay warm. But if your domestic water pipes aren’t properly insulated, a significant amount of heat can be lost along the way. That means wasted energy, higher utility bills, and unnecessary strain on your water heater. The good news is that insulating your pipes is simple, affordable, and highly effective. Here’s how you can reduce heat loss and make your home more energy efficient.
Why Insulate Water Pipes?
Hot water pipes carry heated water from your water heater to faucets, showers, and appliances. As the water travels through uninsulated pipes—especially those running through unheated spaces like basements, crawl spaces, or garages—it loses heat to the surrounding air. This forces your water heater to work harder to maintain the desired temperature.
Insulating your pipes offers several benefits:
- Reduced heat loss – saves energy and lowers your utility bills.
- Faster hot water delivery – less waiting time and less water wasted.
- Improved comfort – more consistent water temperature.
- Condensation prevention – on cold water lines, insulation helps prevent moisture buildup and mold.
Even a modest layer of insulation can make a noticeable difference, but the thicker and more effective the insulation, the greater the savings.
Which Pipes Should Be Insulated?
In general, all hot water pipes should be insulated—both supply and recirculation lines. Pay special attention to:
- Pipes running through unheated or poorly insulated areas.
- Long pipe runs between the water heater and fixtures.
- Easily accessible pipes in basements, utility rooms, or crawl spaces.
It’s also wise to insulate cold water pipes located near hot water lines. This helps keep cold water cool and reduces the risk of condensation and bacterial growth.
Choosing the Right Insulation Material
There are several types of pipe insulation available, and the best choice depends on where the pipes are located and how much space you have.
- Foam insulation (polyethylene or rubber foam) – flexible, easy to install, and ideal for indoor use.
- Fiberglass insulation – handles higher temperatures and is often used in mechanical or utility areas.
- Spray foam or rigid foam sleeves – provide excellent insulation where space is limited.
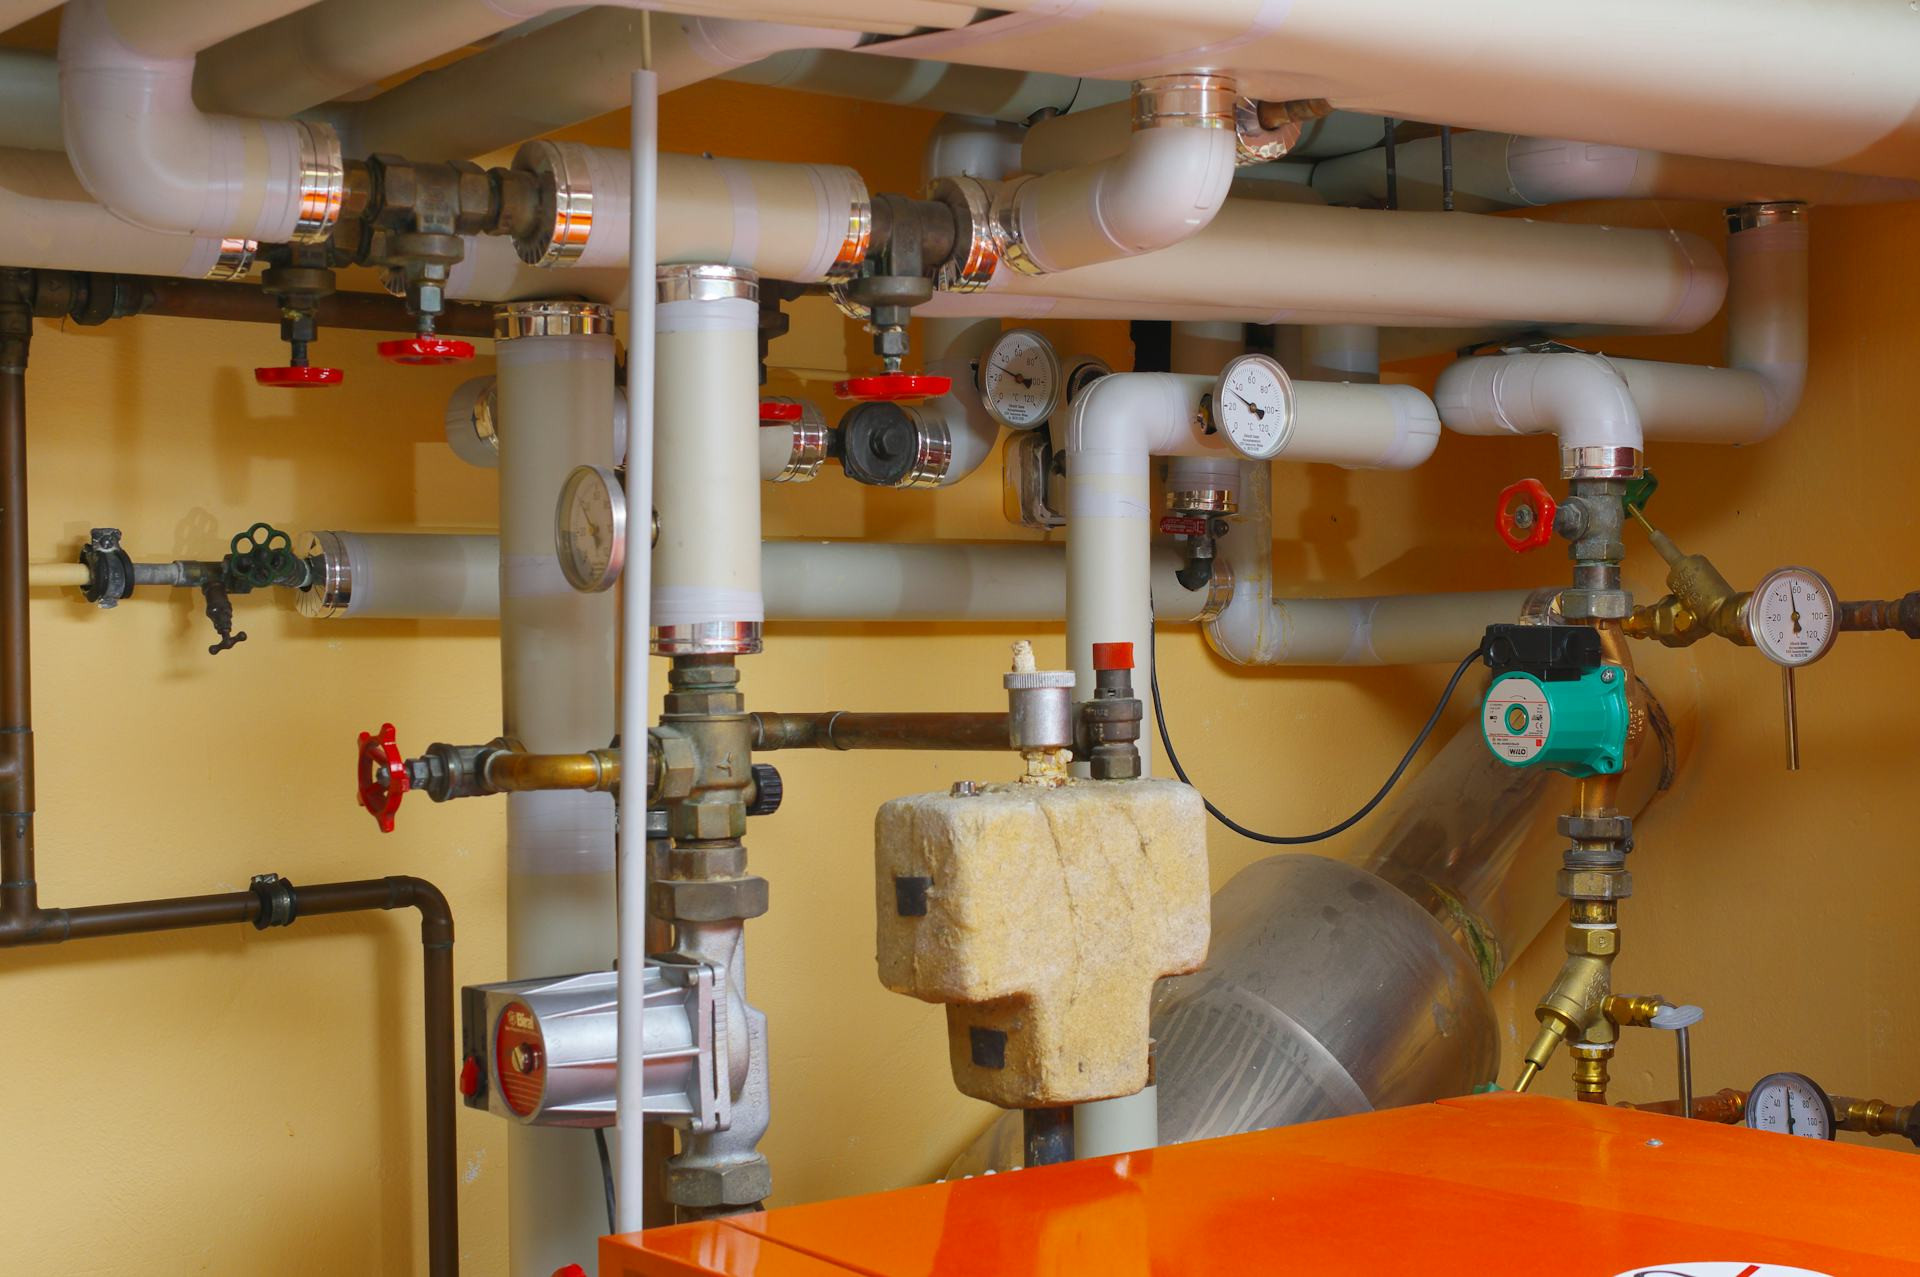
Pipe insulation typically comes in pre-slit tubes or sleeves that can be cut to length and fitted around the pipe. Make sure joints are snug and sealed with appropriate tape or adhesive to prevent heat loss.
Step-by-Step Installation
- Measure pipe diameter and length. This ensures you buy insulation that fits properly.
- Clean the pipes. Remove dust and debris so the insulation adheres well.
- Cut the insulation to size. Use a sharp knife for clean, accurate cuts.
- Install the insulation. Open the slit, place it around the pipe, and close the seam.
- Seal the joints. Use insulation tape or adhesive to secure the seams tightly.
- Inspect for gaps. Pay extra attention to elbows, valves, and fittings where heat loss is common.
If you’re unsure about the best approach, a licensed plumber or HVAC technician can help. The cost is modest, and the energy savings often pay for the project within a year or two.
How Much Can You Save?
According to the U.S. Department of Energy, insulating hot water pipes can reduce heat loss by up to 50% and raise water temperature by 2–4°F. That means you can lower your water heater’s temperature setting and still get hot water faster. For a typical household, this can translate into noticeable annual savings on energy bills and reduced carbon emissions.
Maintenance and Lifespan
Pipe insulation requires little maintenance, but it’s a good idea to inspect it every few years. Replace any sections that are damp, damaged, or loose. Most modern insulation materials last 20–30 years, making this a long-term improvement to your home’s efficiency.
A Small Effort with Big Results
Insulating domestic water pipes is one of the simplest and most cost-effective ways to save energy at home. It doesn’t require major renovations or special skills—just a bit of time and attention. The payoff is lower energy bills, improved comfort, and a more sustainable home.